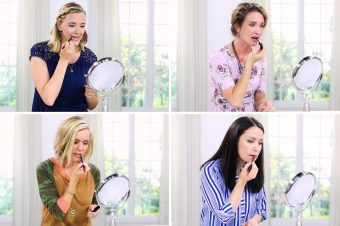
Do you love the look and polish (pun intended) of a fresh mani and pedi?
Are you new to nail care and aren’t sure where to start, or what the best option is for you?
A lot of women go through phases with their nails, and as a Type 4, you tend to be “all-or-nothing” with things. Maybe you’re meticulous with nailcare and love everything about it, from using this buffing block and making sure your polish never chips.
But maybe at other times, you can’t be bothered, turning this into a love/hate relationship over the course of your life.
It’s time to reawaken to a new love for your nails! But to stick with it, you’ll have to find a method and process that works for you.
3 Things to consider in order to find your perfect nail look:
1. Choose your method.
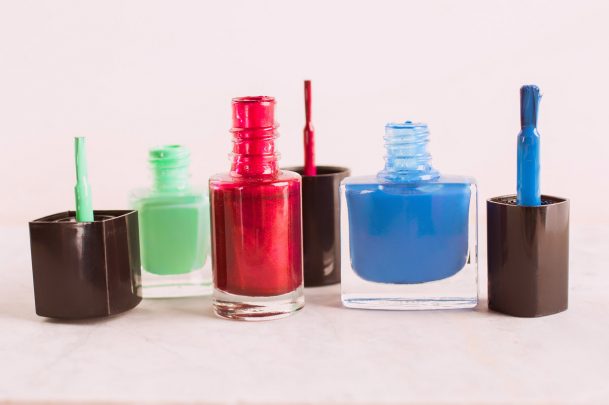
Top Coat
That’s right—just good, old-fashioned nail polish. This is where most women start, and many of them stay here!
Pros: You can change colors quickly, even every day if you wanted! It’s a fast, DIY option you can do from home. It’s also the least expensive, easy to remove, and won’t cause any damage over time.
Cons: It doesn’t last very long. Some women experience chips within a couple of days. It can also be a messy option if you smudge the wet polish before it dries.
Acrylic
If you’ve ever considered acrylic, there’s a good reason!
Pros: It lasts longer, it’s durable, and you’re able to change the natural shape of your nails. Once the nails are on, you can change the topcoat color easily.
Cons: It requires more time investment and commitment, and it must be applied by a technician. A big downside is that it can damage your nail bed over time if not removed properly, and they’re not removed easily at home.
Gel
This is a great option that falls in between a simple topcoat and acrylic. Back in the day, this could only be done at a salon with a technician. But nowadays, you can purchase gel kits to do this at home!
Pros: It lasts longer than a topcoat, is more durable, and has a lovely smooth finish (even with glittery polish).
Cons: More of an investment and commitment, can damage your nail bed over time if not removed properly, requires more effort to remove, and special equipment is required.
Type 4 Expert Kalista loves gel nails: “I recently had my first gel French-style manicure. It was awesome and lasted for almost a month. Amazing, since regular polish rarely lasts more than two days for me. I’ll definitely be doing it again. My toenails are where I go crazy with color. And what’s great is that a simple topcoat will last weeks without chipping.“
Nail stickers or strips
If you’re not a nail girl because nails have always been too high-maintenance for you, these could change your mind!
These are quickly becoming popular because they’re so fast and easy! No drying time, no UV light, no mess. Just pick your favorite color or design, press on, and file off the excess.
Merica loves nail stickers: “No drying time, gorgeous colors, perfect finish. I remove polish every Sunday and re-apply Monday morning before work, different colors and patterns every time.”
2. Choose your preferred shape of nails.
Here’s an easy tip to know which shape works best for your Type 4 nature: simply refer to your Style Guide. On the back, under Design Line, you will read about your shapes: elongated ovals and rectangles. Your best nail shapes are square, oval, and squoval.
Square: Filed straight across the top giving the top of the nail squared, right-angled corners.
Oval: Gently filed to shape the top of the nail into a rounded, half oval shape.
Lifestyle member, Brenda, shared this photo of perfectly oval-shaped nails!
Squoval: The most universally flattering shape. First, file the nail into the square shape as described above. Then slightly round the corners while still maintaining the straight top.
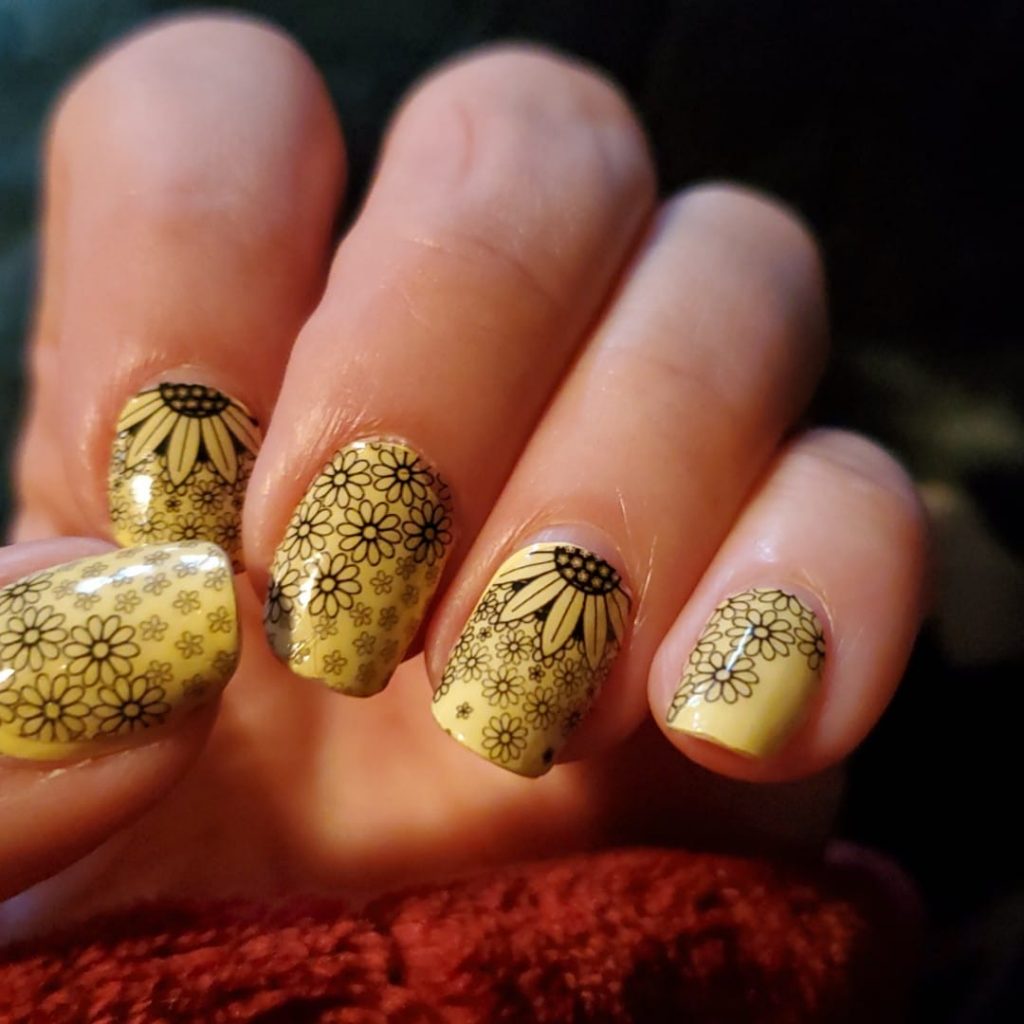
3. Choose your color.
This is where you can really let your stunning nature shine!
You’ve been training your eye to see your bold hues. Now simply apply that keen eye to selecting nail color. All you’ve learned about color from the course and from your Style Guide comes into play here. Look at your Style Guide again. The last of the 5 Elements is Color. You’ll read “Hue: pure saturated color,” also white, black, navy, and icy tints. Finishes could be both high gloss, or matte.
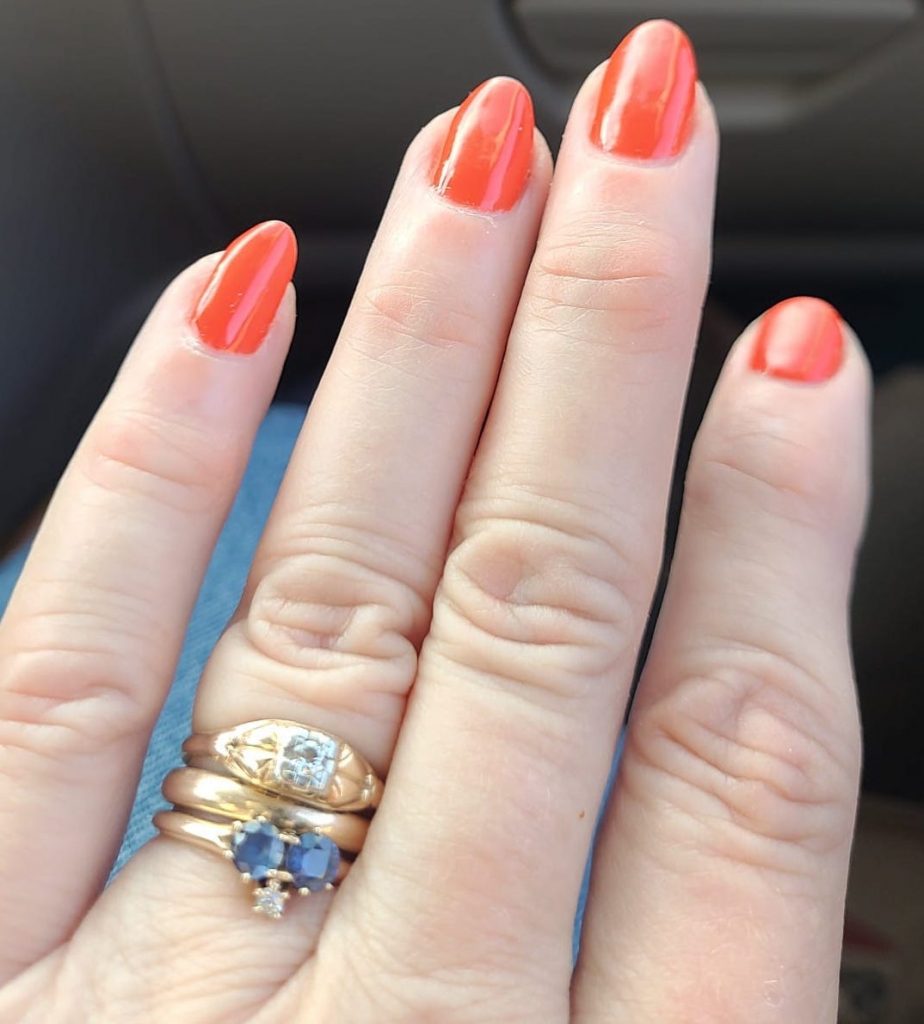
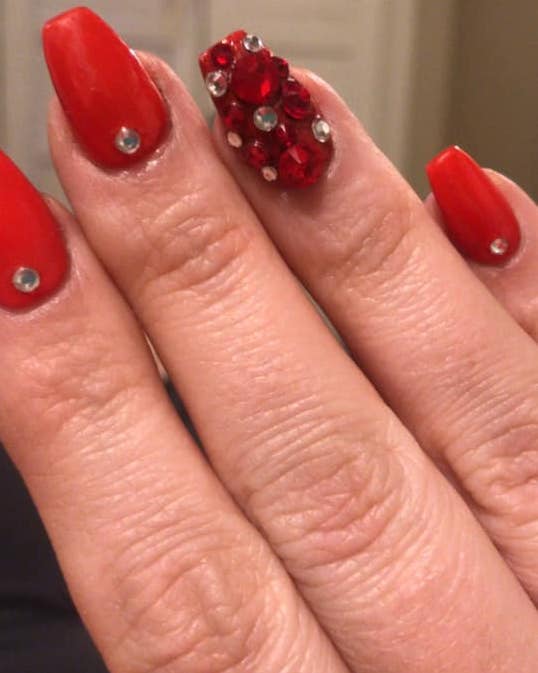
Just look at Keirsten’s high-contrast nails!
Here are some other Type 4 color examples for you:
What’s your tip for perfectly polished nails?
Let your creativity and personality radiate all the way down to the tips of your fingers and toes. Post a picture of your hands with your favorite method, color, and design. You will inspire others!
Nails can be a fun way to personalize your style and become an accessory. But don’t stop there! Get even more accessories for your Type in the DYT Online Store!
P.S. There’s more than one way to use nail polish. Find out how you can use it to refashion jewelry!